Are you ready to turn your entrepreneurial dreams into reality by setting up your very own online store?
Look no further than Shopify–the go-to platform for creating seamless and successful e-commerce stores. In this step-by-step guide, we’ll walk you through the process of getting your Shopify store online in 2024. Let’s dive in!
Steps to Follow 👣:
1.Start setting up your E-commerce website bySign Up for a Shopify Account
2.Choose a Stunning Shopify Theme
3.Customizing Sections
4.Creating Collections and Adding Products
5.Create Collections
6.Creating about us and other pages
7.Creating Menus
8. Manage Store Details
9. Set Up Payment Methods
10. Set The Checkout Settings
11. Set Up Market Settings
12. Shipping and Delivery Settings
13. Brand Settings
14. Set up a Domain
15. Going Live!
Setting the Stage - Your Shopify Store's Foundation
1. Sign Up for a Shopify Account
The journey begins with a simple signup process.
Head to the Shopify website and click on“Get Started.”
Fill in the required details, including your email, password, and store name.
Remember, your store name is crucial – it’s the first impression you make on potential customers.
Crafting Your Shopify Store - Design and Branding
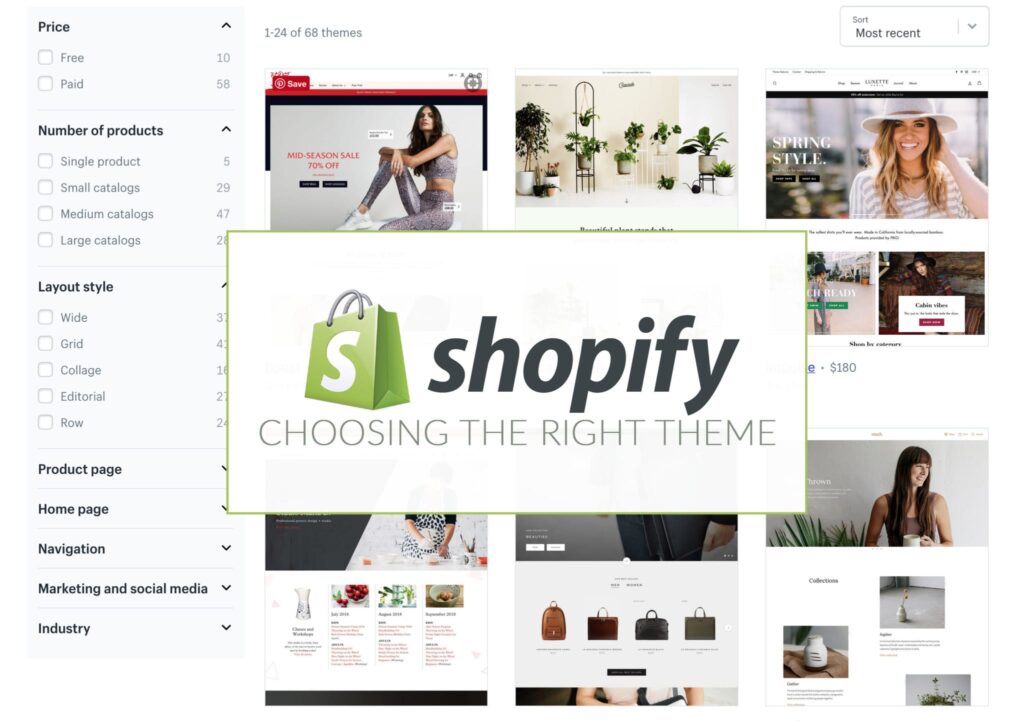
2. Choose a Stunning Shopify Theme
Your store’s Design plays an important role in attracting customers. Shopify provides a wide range of themes designed to suit different types of businesses and sectors. Browse through the options and select a theme that resonates with your brand identity. Remember, simplicity often triumphs over complexity when it comes to online shopping experiences.
To choose a theme, Navigate to “Online Store”, scroll down, and click “Visit Theme Store.”
Here at Shopify, you can explore both free and paid options. Here we’ll choose the “Dawn” theme for this guide.
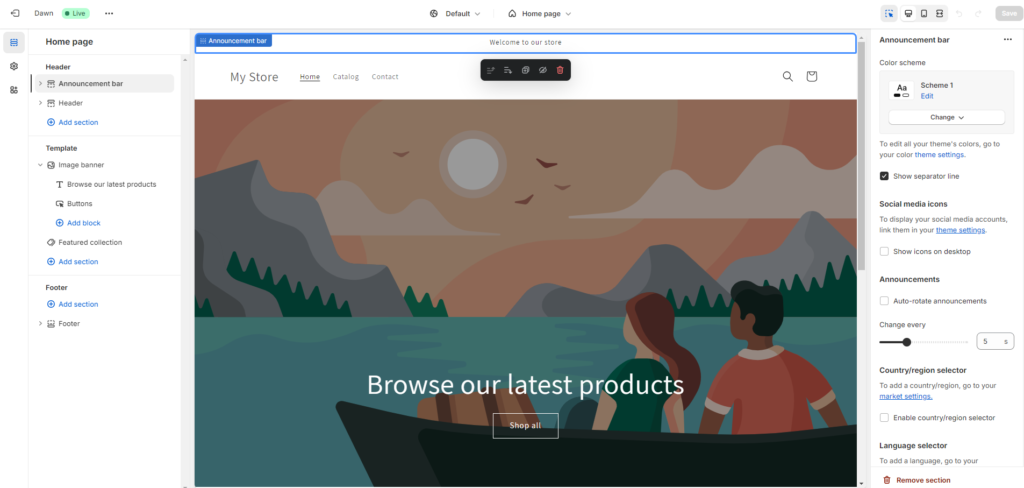
After selecting your theme, open the theme editor to customize its elements.
The editor allows you to adjust various settings, including typography and colour schemes.
3. Customizing Sections
Customizing Header
In the theme editor, start with the header section. Modify the background colour, add a logo, and set up a banner image.
Customize text and button settings in the banner section to make it visually appealing.
Adding and Editing Sections
Explore the sidebar to add new sections to your store.
Hover between sections or click on “Add Section” to choose from various options.
Use the drag-and-drop feature to reorder sections. Each section contains blocks that can be edited individually to tailor your content.
Fonts and Color Settings
Adjust fonts and colour settings in the theme editor’s additional settings. This includes choosing fonts for headings and body text, changing font sizes, and setting up colour preferences for various elements.
Populating Your Store - Adding Products and Collections
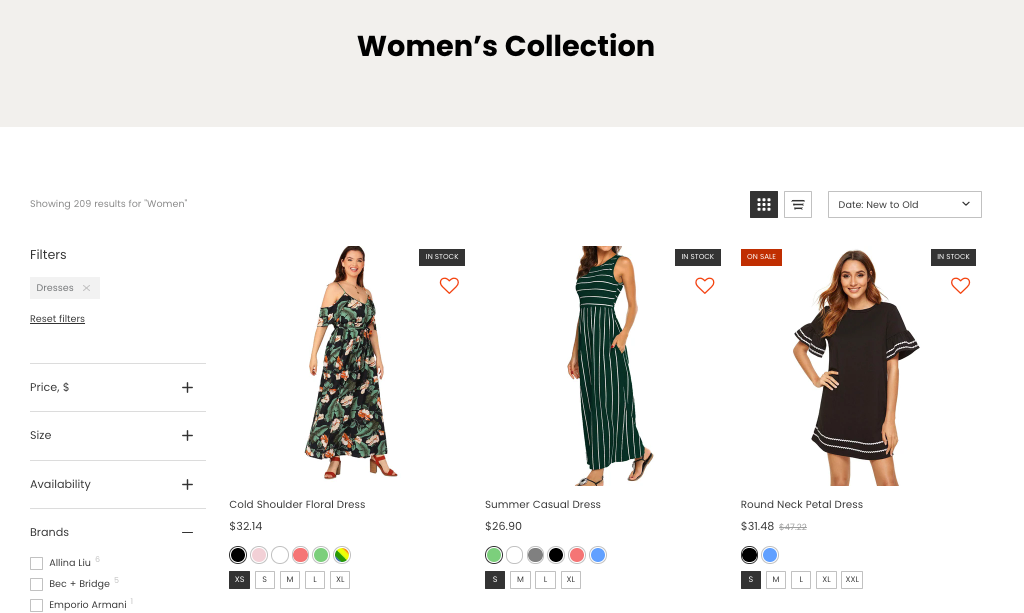
4. Creating Collections and Adding Products
Now it’s time to showcase your products effectively. Craft engaging product descriptions, upload high-quality images, and set competitive prices. Ensure that your product pages provide all the necessary information customers need to make informed decisions.
Move to the Shopify dashboard and navigate to “Products.”
Add products, providing details like title, description, images, pricing, and inventory information.
Consider SEO settings for better visibility on search engines.
Repeat this process for multiple products.
Shopify’s user-friendly interface simplifies this process, making it easy for even beginners to manage their inventory effortlessly.
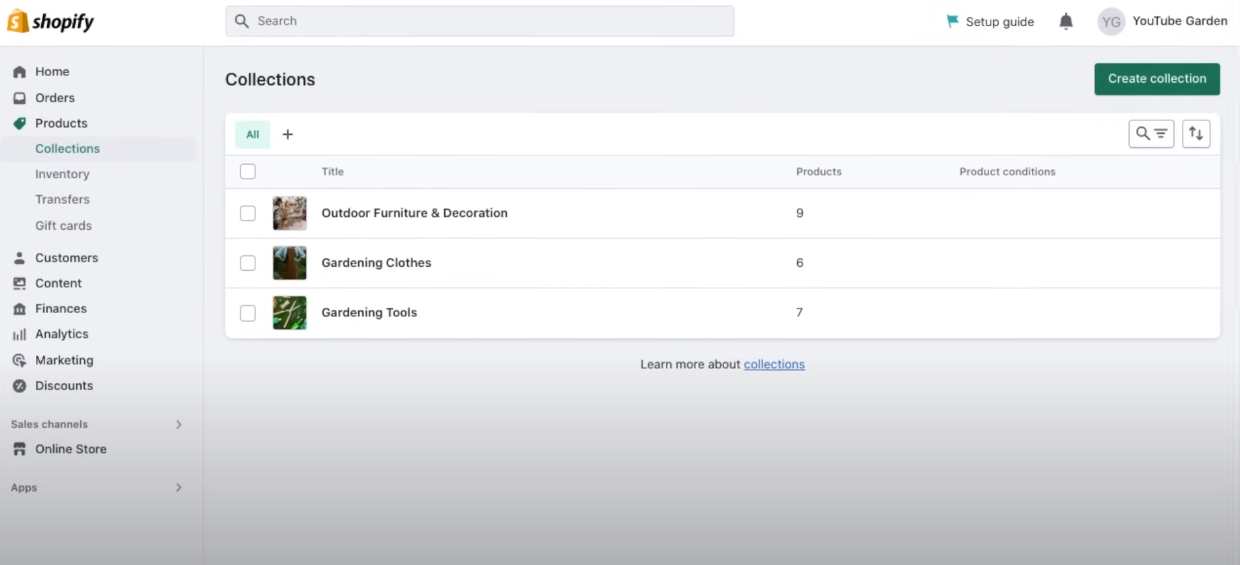
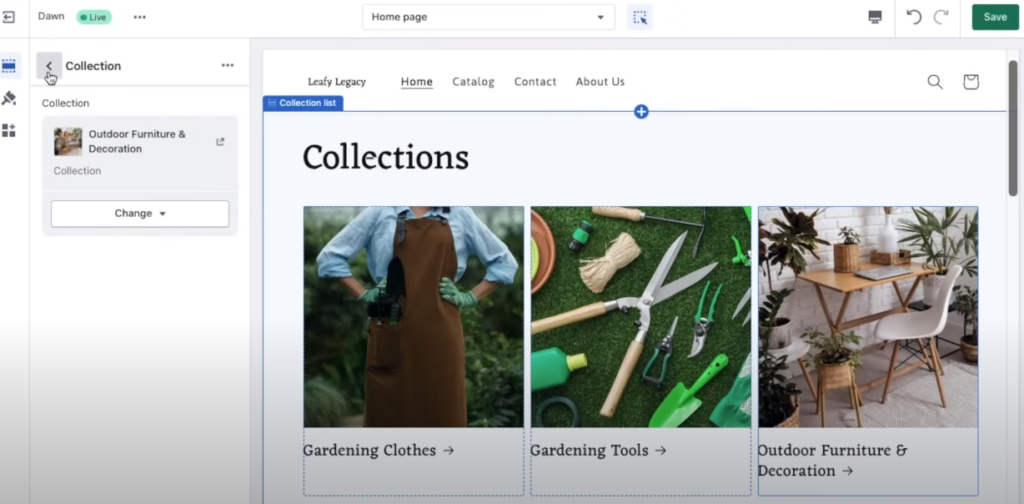
5. Create Collections
Organize your products into collections to streamline the shopping experience. Whether it’s by category, season, or theme, collections help customers navigate your store seamlessly. This strategy enhances organizational discoverability, leading to increased sales.
Create collections to organize your products logically.
Head to “Collections” on the dashboard
Then click “Create Collection,” and set up collection details.
Add products to each collection manually or sync them with suppliers if using dropshipping.
Creating Pages (About Us, Policies)
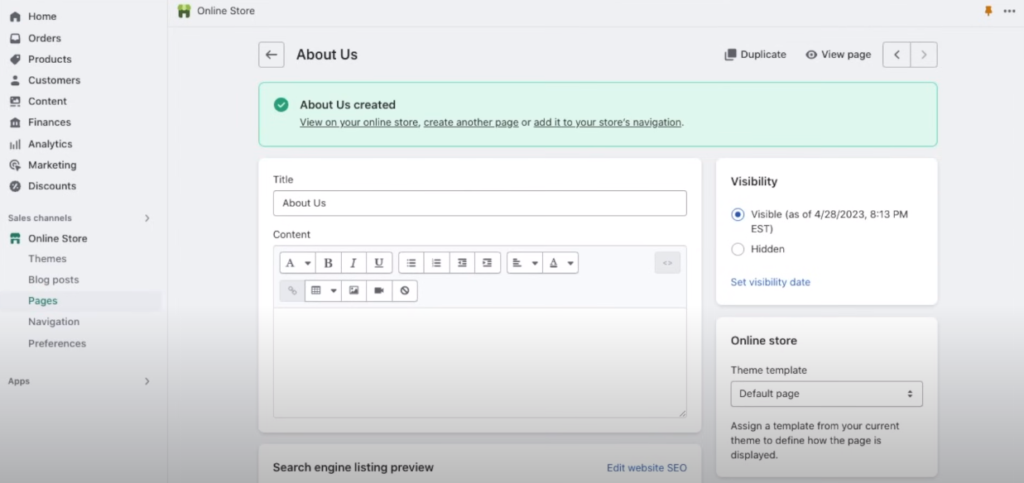
6. How to create a About us and other relevant pages
Create pages like “About Us” and policies in the Shopify dashboard. Add content that provides insights into your brand and sets clear expectations for customers. Link these pages in your home page buttons and navigation menus.
For that
Go to Online store and click on pages
Click on “Add Page”.
Give the Title for the page.
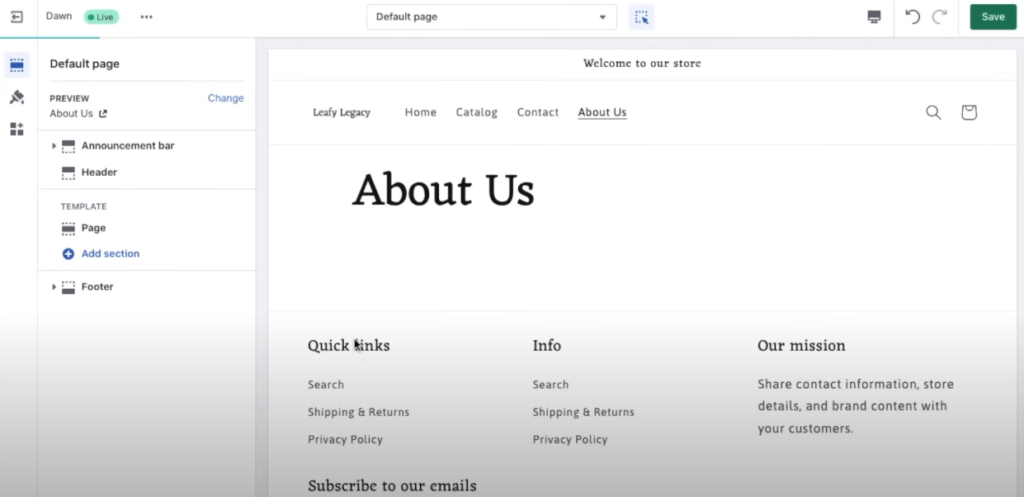
Then Click on “View Page” and you will be redirected to the theme editor.
Then you can customize your newly created page as you want using theme editor.
Create Shipping and Policy Pages
Create policy pages like Shipping & Returns, Privacy Policy, and Terms of Service.
Customize these pages as needed and ensure they reflect your business policies.
Privacy Policy and Terms of Service: Use Shopify’s template to create these important pages. Shopify will automatically add them to your footer menu.
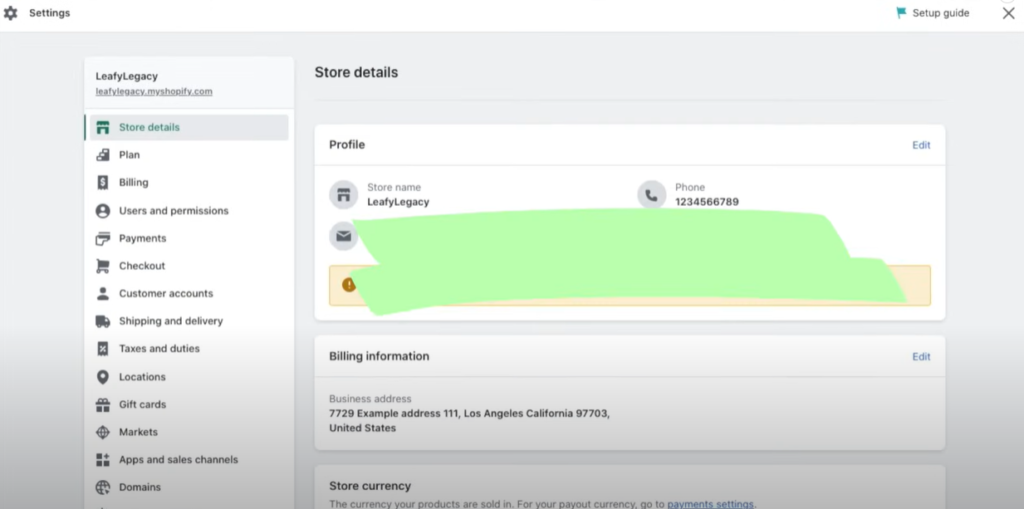
For the manage settings go to settings in the left below corner in the dashboard. You will appear window like below:
8. Manage Store Details
Verify and edit your store information under Settings.
Set the correct store currency and billing address.
Select store currency which is matching your selling location.
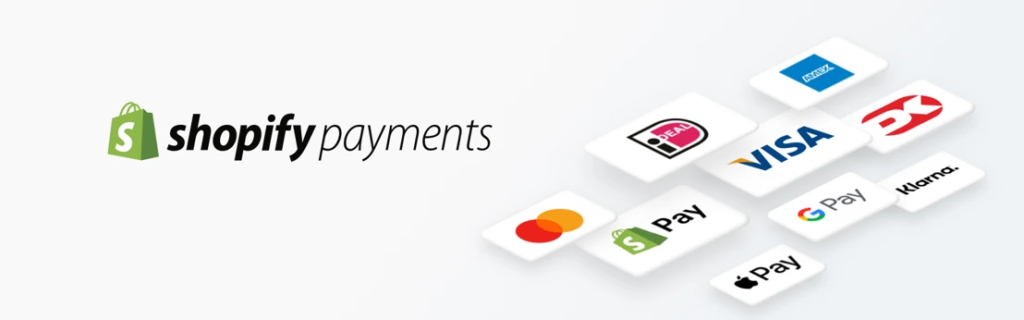
9. Set Up Payment Options
Ensuring a smooth checkout process is vital for customer satisfaction. Shopify supports multiple payment gateways, including popular options like PayPal and credit cards. Configure your preferred gateways to facilitate secure and hassle-free transactions.
Go to payment section in the settings
As a Payment Options Set up Shopify Payments for an easy and secure payment process.
Consider adding PayPal as an additional option.
10. Set the Checkout Settings
Customer Contact Method
Choose between email or phone, or opt for just email.
Recommendation: Select “just email” for a smoother process.
First and Last Name
Decide whether to require both or just the last name.
Benefit: Gathering first names can enhance future marketing strategies, especially for personalized email marketing.
Shipping Address and Phone Number
Set phone number as required, essential for delivery services.
Note: Many delivery services mandate a phone number by law, so ensure this setting is checked.
Email Marketing
Opt for email as a marketing option.
Reason: Email marketing remains a powerful tool; having customer emails allows for effective communication and future promotions.
11. Set Up Market Settings
Define your selling regions and markets:
Primary Market: Set your primary market based on your business location.
International Markets: Add countries to expand your reach. Ensure accurate product availability for each location.
12. Shipping and Delivery Settings
Manage shipping profiles to handle product weights and shipping rates:
Shipping Profiles: Group products with similar weights to create shipping profiles. Adjust shipping rates based on weight.
International Shipping: Set up international shipping rates for expanded market reach.
13. Brand Settings
Branding
For That click on the brand section in the settings.
Add your logo, brand colours, and social media links.
Enhance your brand presence for a cohesive online identity.
Making It Official - Configuring Your Domain and Launching Your Store
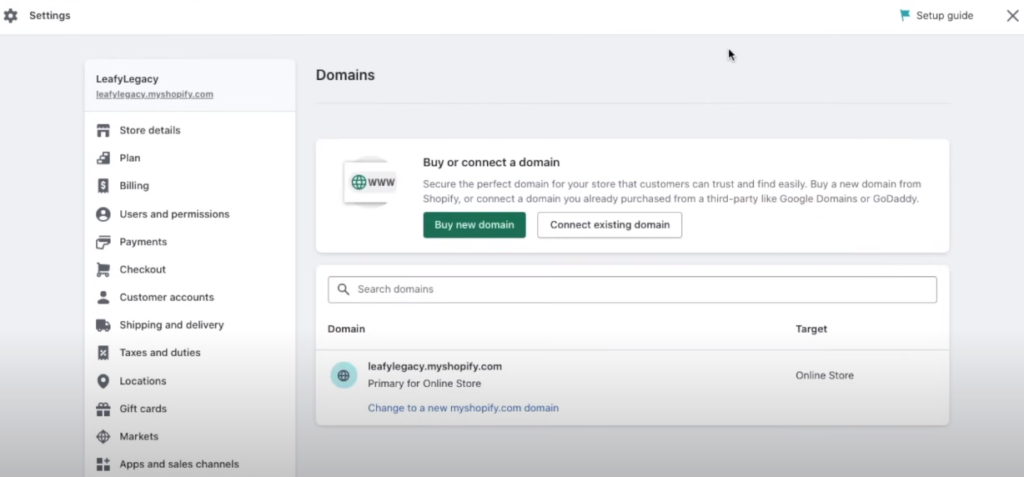
14. Set Up a Domain
Go to Domain in the settings
You can purchase a domain through Shopify for a professional website address or use an existing domain for your online store.
15. Going Live And Launch Your Shopify Store
Before making your store public, test the checkout process to ensure it functions correctly:
Test Checkout: Add a product to the cart and go through the checkout process to confirm functionality.
Remove Password: Under “Online Store,” Click on Pages and remove the password to make your website public.
Preferences: Add your store name and description for better visibility on search engines like Google.
Congratulations! – you’re almost there! Once you’ve fine-tuned every aspect of your store, it’s time to launch. Click the ‘Launch Store’ button, and your online business will officially be live, accessible to customers around the world.
Don’t let your store get lost in the vastness of the internet. Implement effective marketing strategies, such as:
social media promotion and email campaigns.
Additionally, optimize your store for search engines (SEO) to enhance its visibility and attract organic traffic.
Explore Shopify Apps
Shopify’s App Store is a treasure trove of tools to enhance your store’s functionality. From marketing apps to inventory management tools, explore and integrate apps that align with your business goals. These apps can streamline operations and elevate your store’s performance.
Conclusion
In conclusion, launching your Shopify store in 2024 is an exciting venture that begins with a solid foundation and extends into ongoing efforts for growth and success. With the user-friendly system offered by Shopify and our step-by-step guide, you’re well-equipped to navigate the e-commerce landscape and build a thriving online business. Good luck on your entrepreneurial journey!